A Place for my Bum
Seats, CHECK! We Even Have Bun Warmers...
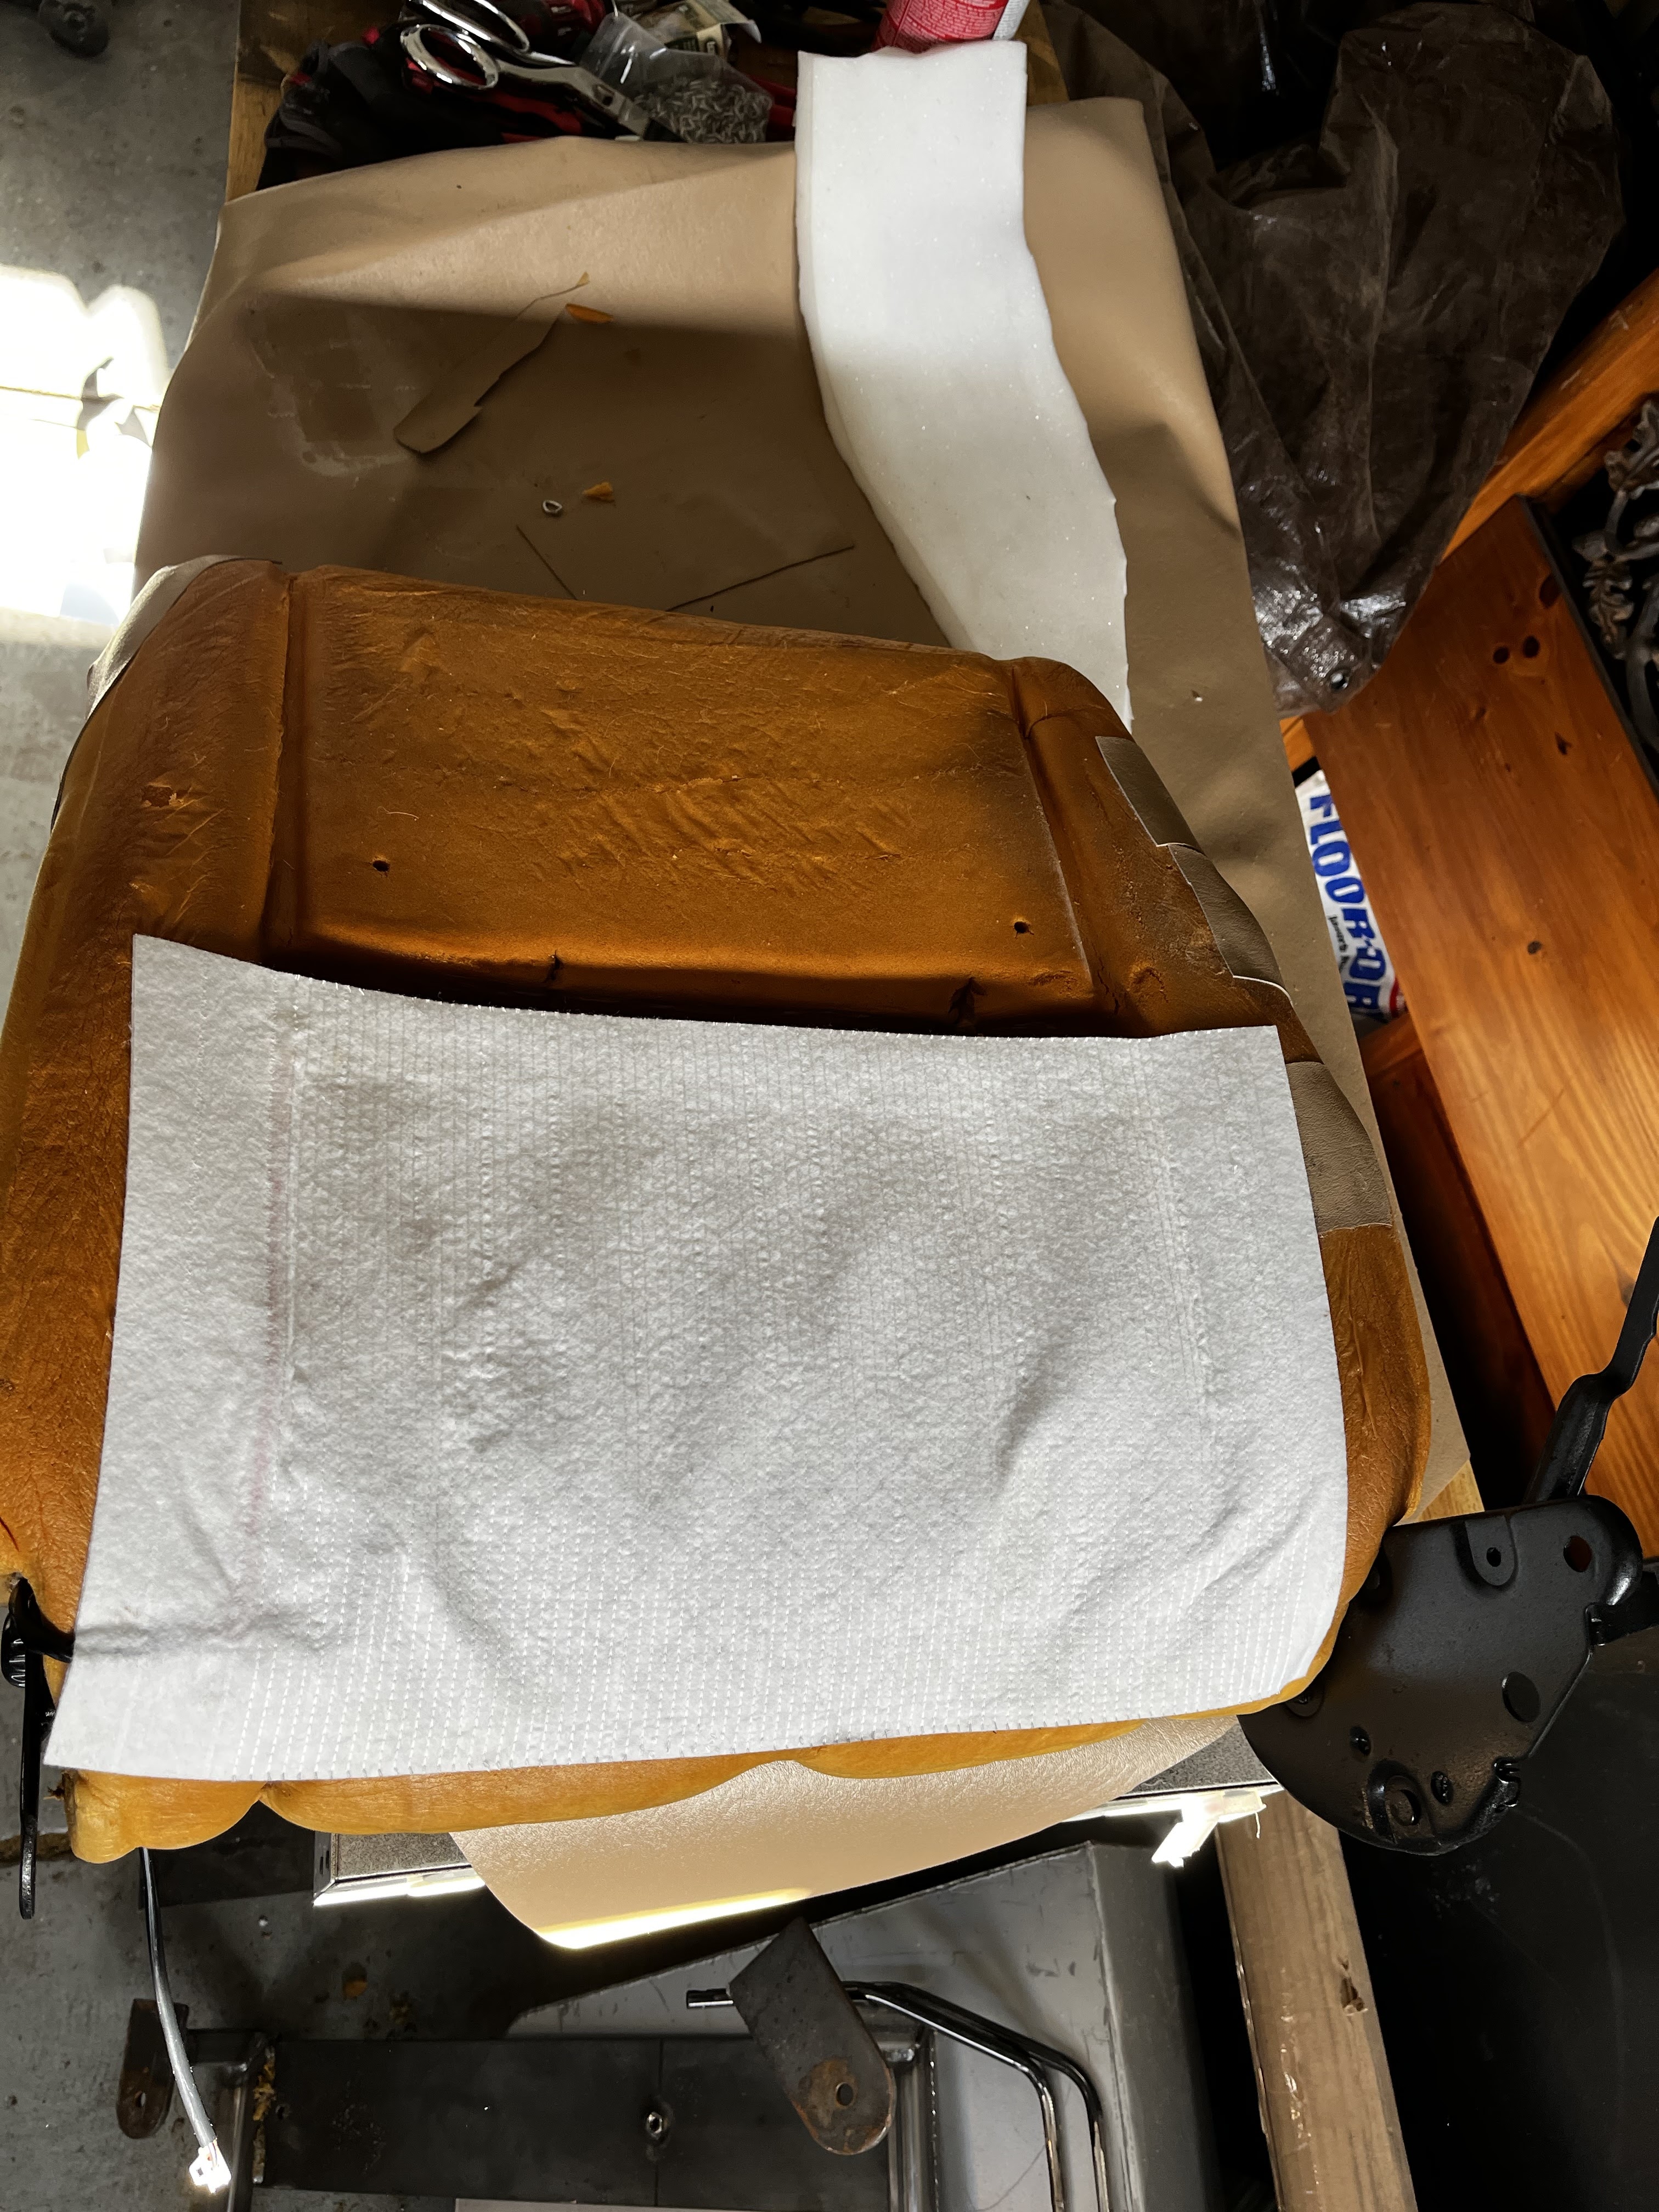
I finished the seats today. This was my first venture into upholstery, and I enjoyed the work and the results. It was satisfying and fun. I managed to find new foam for the bottom cushion but had to repair the uppers myself. Here are a couple before photos for reference...


I started with thoroughly cleaning the frames and springs and coating them with a rust converter and a topcoat.


I started by lining the insides of the bolsters with marine-grade vinyl. I used spray adhesive to hold it in place. This provided me with a solid surface for the frames, improved rigidity, and backing for the holes in the original foam.


I removed any flaps from the tears around the rips and cut similarly shaped foam filler from 1-inch high-density foam stock. I then patched it with the same marine-grade vinyl. The foam filler pieces were also blued into place to the vinyl backing I added above.


The final step was to install the upholstery. This is pretty easy for the bottoms, and the tops are a little more challenging. For me starting with the hog rings that pass through the center of the foam was the key. I turned the fabric inside out, rolled it on the tops to the pass-thru, and secured the hog rings. I started with the center hog rings for the bottoms and then stretched the fabric over the front of the seat and fastened the hog rings. Pulling the material to the back of the seat was all that remained. The headrests are on order and are coming new from Toyota.

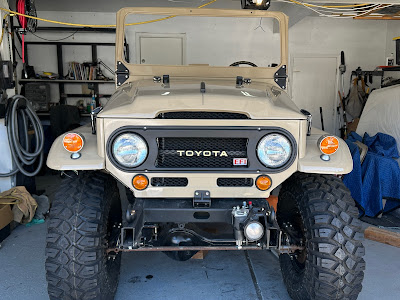
Here is a bonus shot of the bodywork. We go to pick up the body this weekend, and assembly will begin shortly after.